Care to share some pix??
Bumppppppppppppppp
can u post mud guard conversion with pics... it will be help full .... i m intrested how u did it..
I simply used cutting wheel... Cuz for proper cutting you need to remove mud guard.. via unscrewing the nuts beneath mud guard
[/U]
Well i used my bike rough from last 6-7 months, it fell couple of times and as a result some plastic locks which hold the fairing in place were broken. Although the fairings were still quite solid, but i took time out to repair them..
[U]Lift the seat cover from back
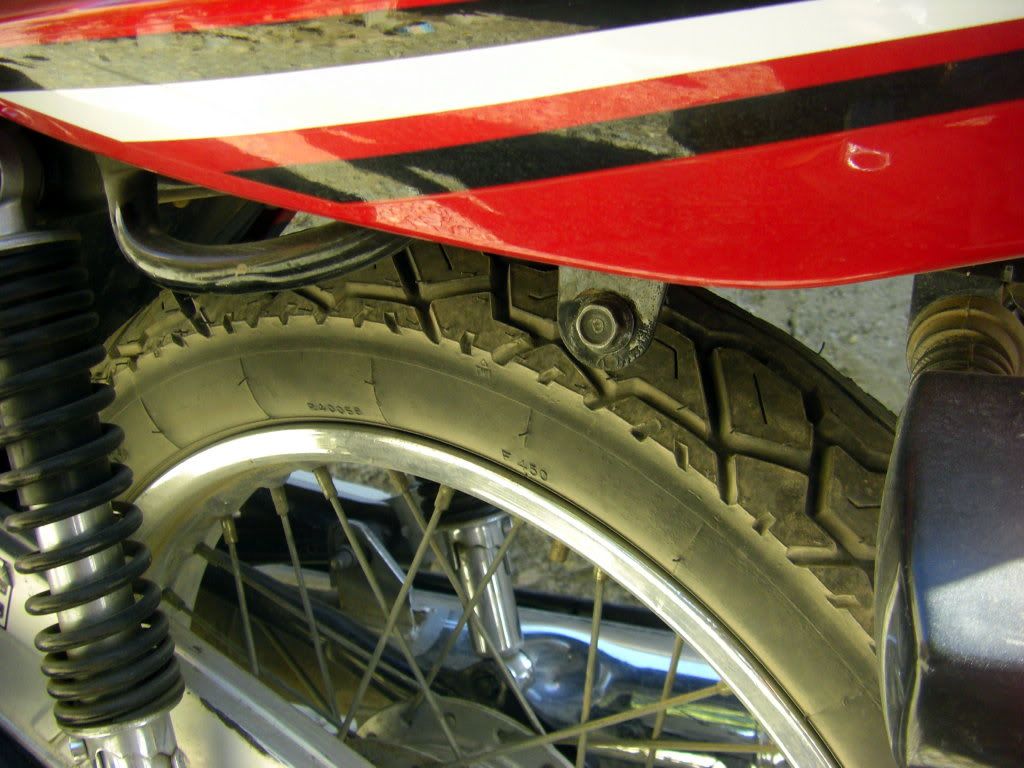
[/U][IMG]http://i1244.photobucket.com/albums/gg563/silver_knife/CIMG1176.jpg[/IMG][U]Now unscrew the following buts as explained in pic
[/U][IMG]http://i1244.photobucket.com/albums/gg563/silver_knife/CIMG1177.jpg[/IMG][U]As you can see the lock are broken from three places (1 hidden)
[/U][IMG]http://i1244.photobucket.com/albums/gg563/silver_knife/CIMG1178.jpg[/IMG][U]A pic after removing the seat
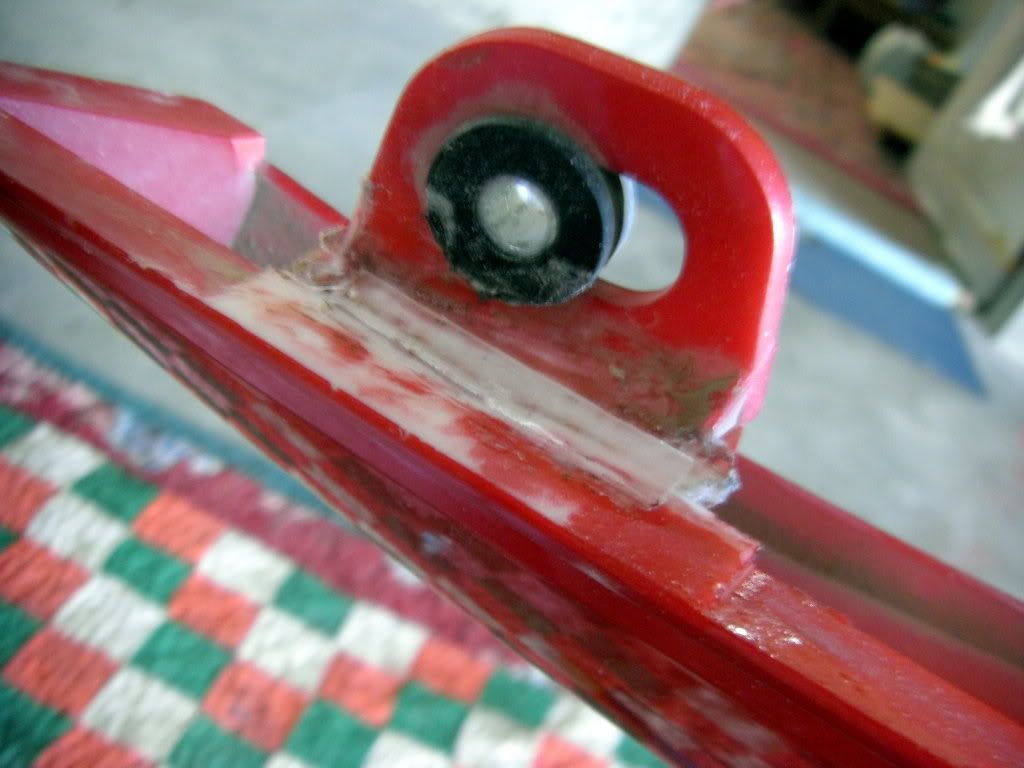
[/U][IMG]http://i1244.photobucket.com/albums/gg563/silver_knife/CIMG1180.jpg[/IMG][U]Thats the hidden lock i was talking about
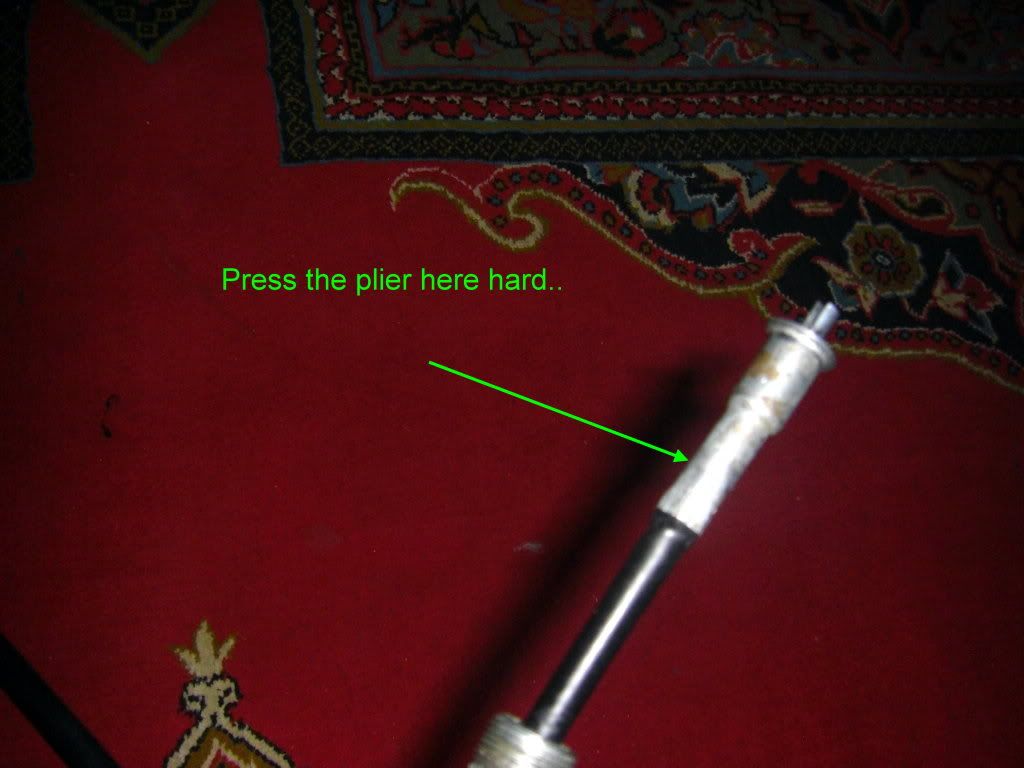
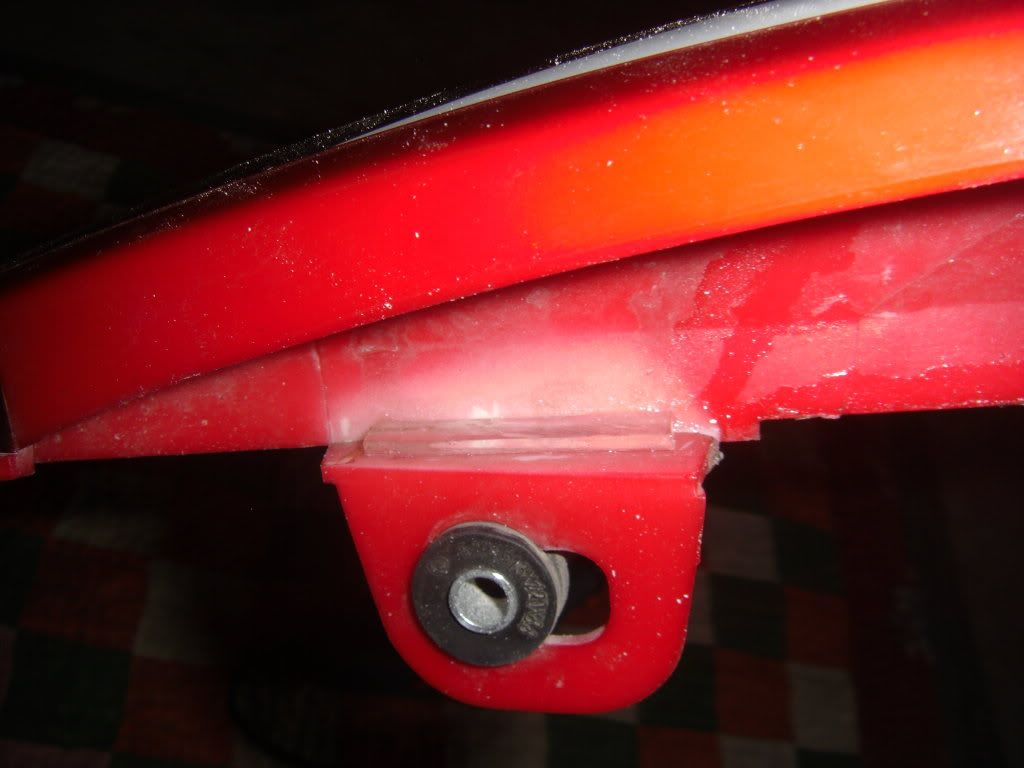
[/U][IMG]http://i1244.photobucket.com/albums/gg563/silver_knife/CIMG1184.jpg[/IMG][U]The lock was beneath the fairing, its kinda a whole which screws to place, so iam using washel
[/U][IMG]http://i1244.photobucket.com/albums/gg563/silver_knife/CIMG1185.jpg[/IMG][U]Using rotary tool to smooth it up
[/U][IMG]http://i1244.photobucket.com/albums/gg563/silver_knife/CIMG1187.jpg[/IMG]
So after using Elfi, Soldering gun and some plexi ****, Its rock solid
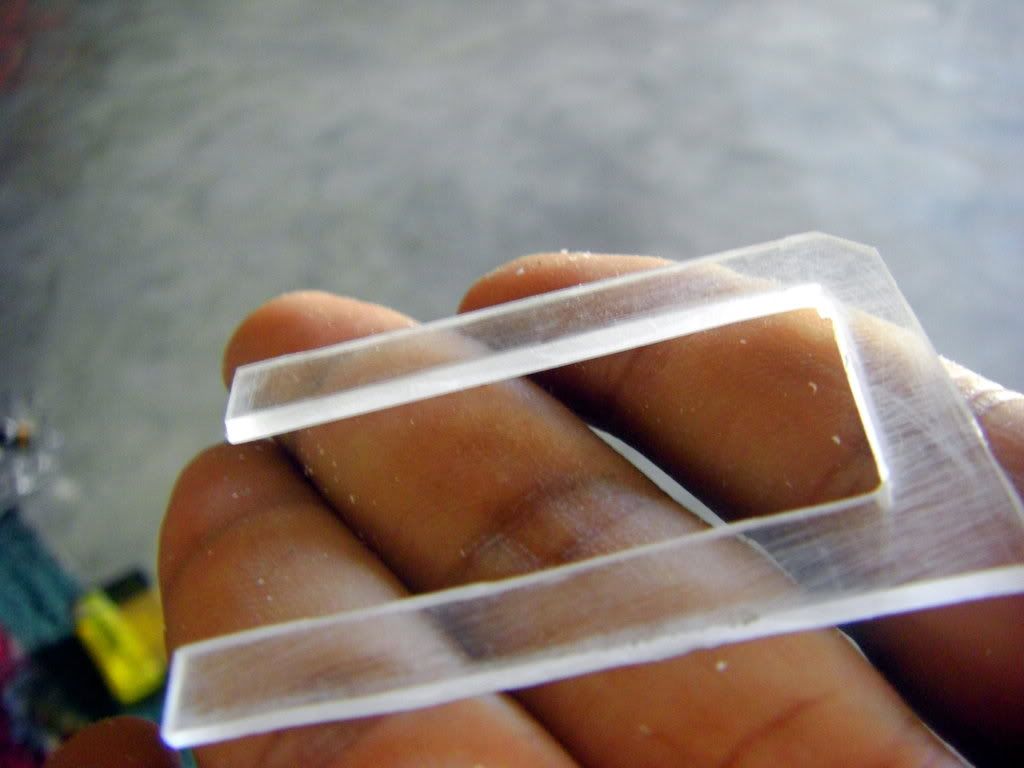
Now coming onto exposed locks... One was completely missing.. So made this using plexi **** and some help from rotary tool and cutting dics
This is how its going to work.. Getting an idea
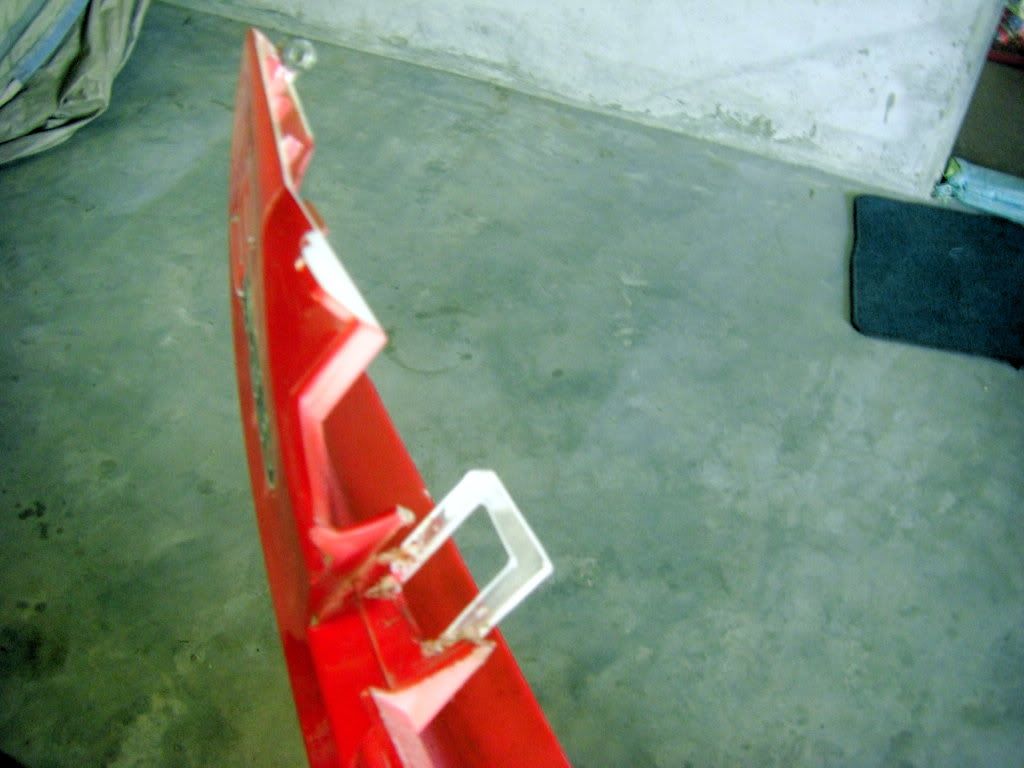
Fixed in place using Elfi, Soldering gun.. Plastic kinda melts when elfi is applied so it gives strong bond
Now coming onto last one, luckily the remaining part was still there, so removed the irregular plastic using sanding drums and applied some strips of plexi **** with elfi to hold it in place and is rock solid
After fixing in place and applied some WD 40 and 7cf to clean the panel..
Awesome work SK!!If u dont wona do all the stuff urself, bumper repair shops walas also do an awesome job with these...I dont know why are people soooo much afraid of plastic partss?? look at that!! Its so damn easy if u use a little brain!!
The rear fairing panel of RP and Deluxe is same or is there any difference?
Different panels.. Amjad can tell more precisely the difference
this is so well explained!
well after my bikes first service, and changing spark plug to NGK dp8ea9. bike starts after a second from self start. this issue has been resolved.But after service its average has fallen to 40 KM per Ltr. before that it was around 50KM. any suggestion.
I want to lower my bike ride "Hight" and soften the shock as well, any help would be appreciated...
their are adjusters in rear shock use them and set to full soft to have maximum bonce, for feul check mixture setting and see the Plug color to identify correct fuel average.
well thanks for rply.what should b the spark plug color if its working fine.and is there any other plug better than i mentioned above. regardless of cost.
will these adjuster have effect on bike hight as well.
This chart may help you, plus mechincs have very good instincts of judging by looking at the plug color and condition
you are using good plug, if you want to use irriduim plug you can find that may be at some heavy bike shops.
at to reduce the tail hight you will have to change rear shocks, but I am sure when you switch to soft mode bike will be lowered by its own weight.
I found a very Good resource for complete spare parts back up of paiggo they have almost every thing in there stock.
So I thought I must share with every body!
Crystal Autos (Ravi Piaggio Spare Parts on Whole Sale rates) 24-B basement Muslim market 59 Mcleod road lahore.0331443367803338278277
and other is Bilal autos and I think every body knows about them already.
Cheers
Thanks .. May prove usefull in future
bumpppppppp
Nice work SK and especially the details of all steps you incorporated to finalize this job is abosolutely mind blowing.The use of Elfi, Soldering gun and plexi with washels was the need of the hour and you utilized all the things in a very good manner.I hope it will be long lasting and no noise from the plastic parts now.
Yupp.going fine till now.. no noise.. nothing..
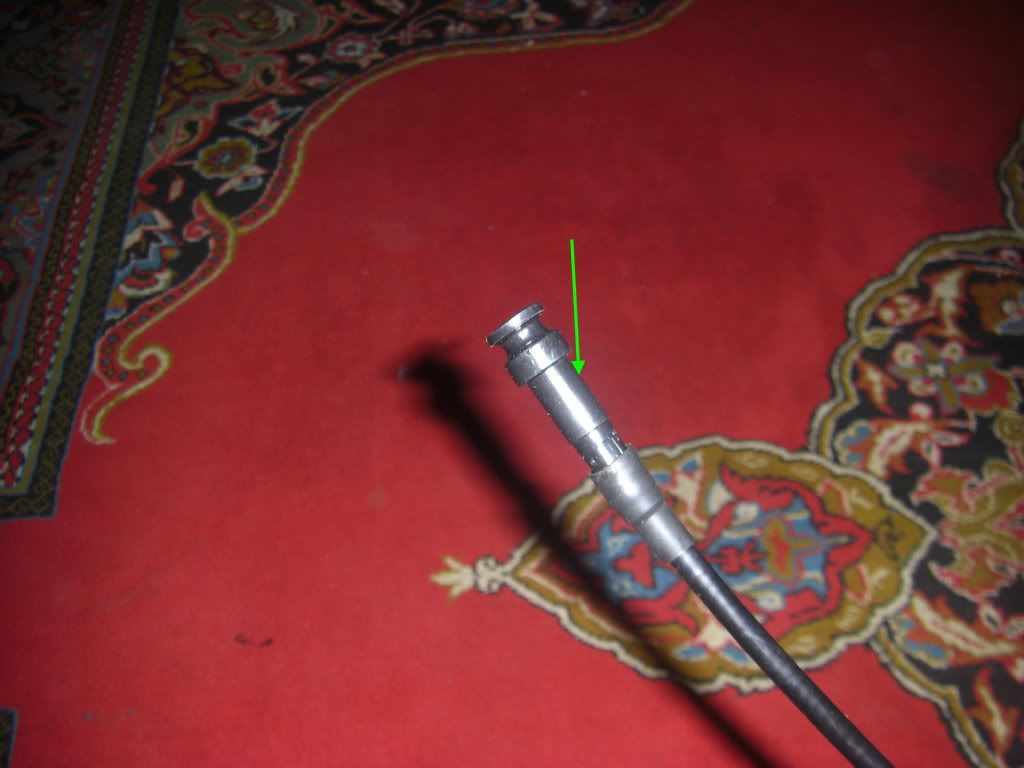
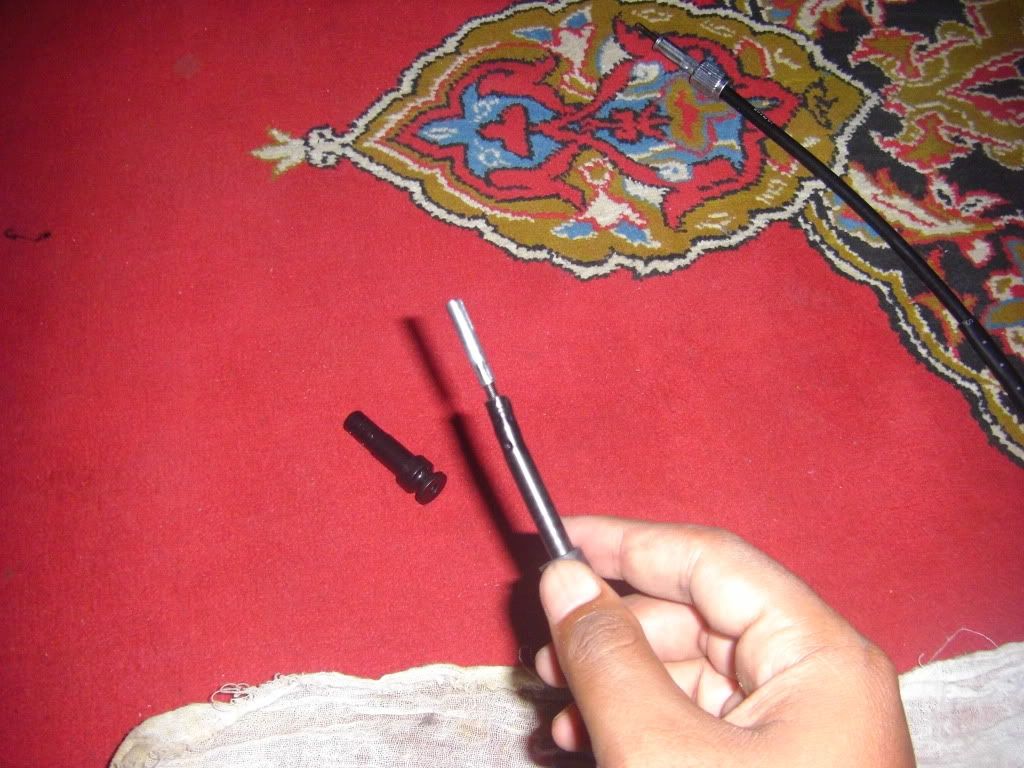
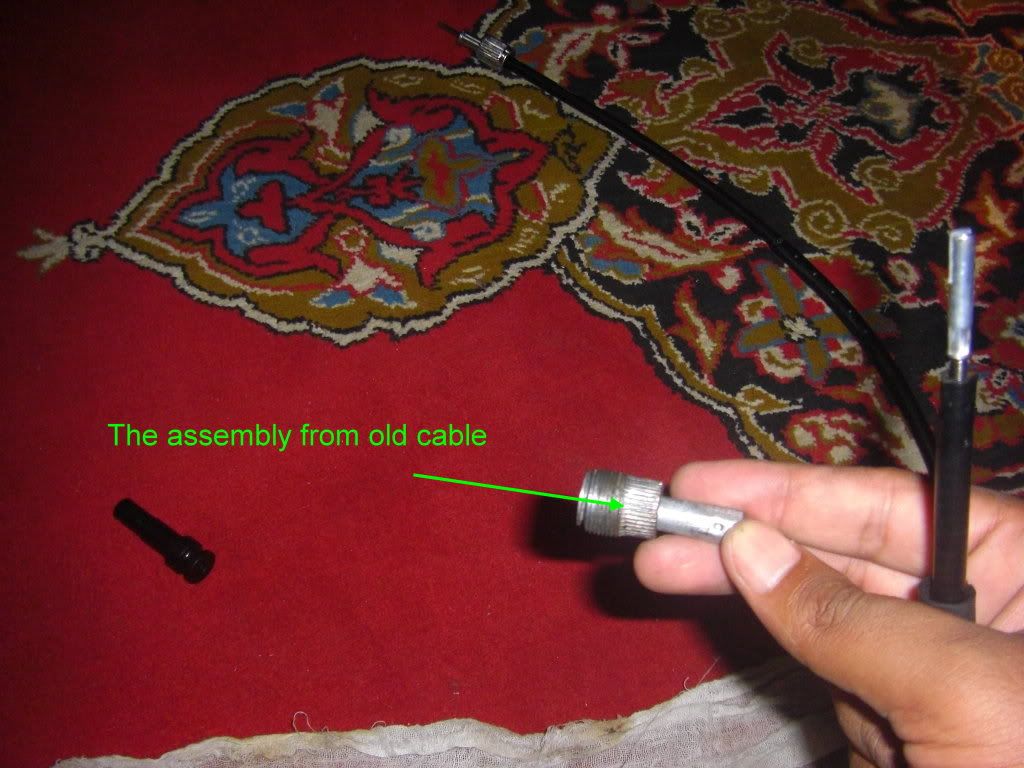
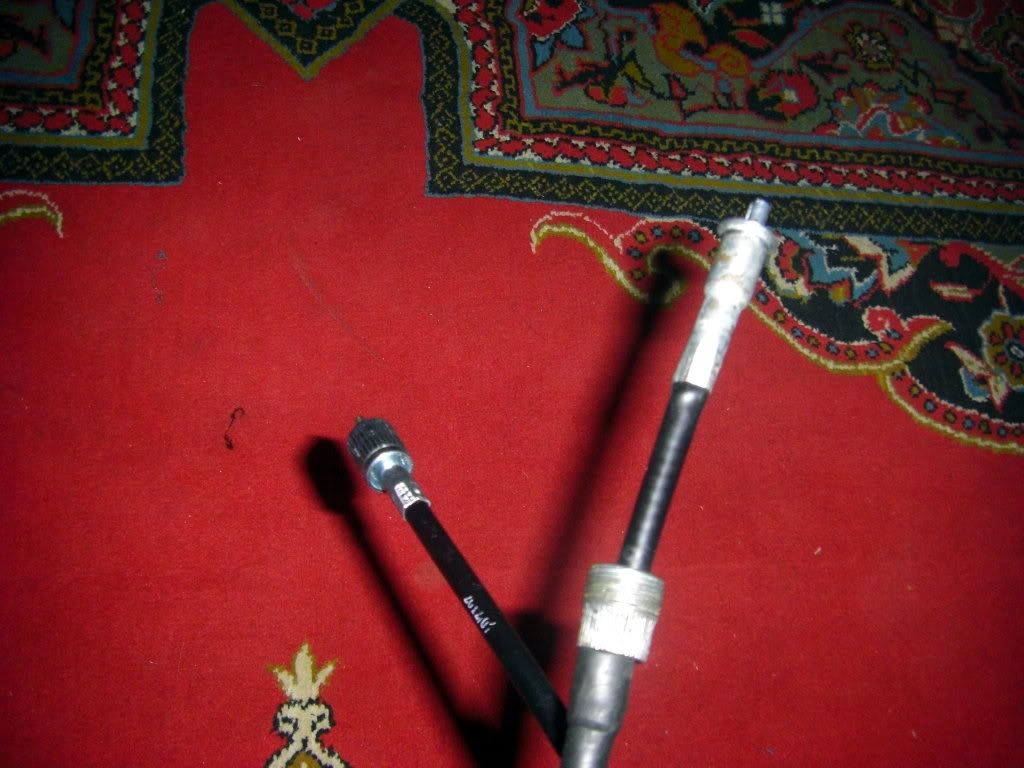
My RPM cable stopped working yesterday without giving any problem intimations, day before yesterday it was working absolutely fine with any issue but yesterday when i rode my bike and noticed after abt 5 minutes of driving, it was not moving at all. I have checked the crew below the meter it is ok, not loose, and other end leading to engine is also fixed, not having a clue at all. If anybody can help...